Twitter Bot
Build your own Twitter Bot using Rowy and Twitter API. This tutorial will show you how to create a Twitter Bot that will automatically reply with a screenshots to tweets that contain a specific keyword.
Setting up the Twitter API
Step 1: Register on the Twitter Developer Portal
First, you need to register on the Twitter Developer Portal. You will need to create a Twitter account if you don't have one already.
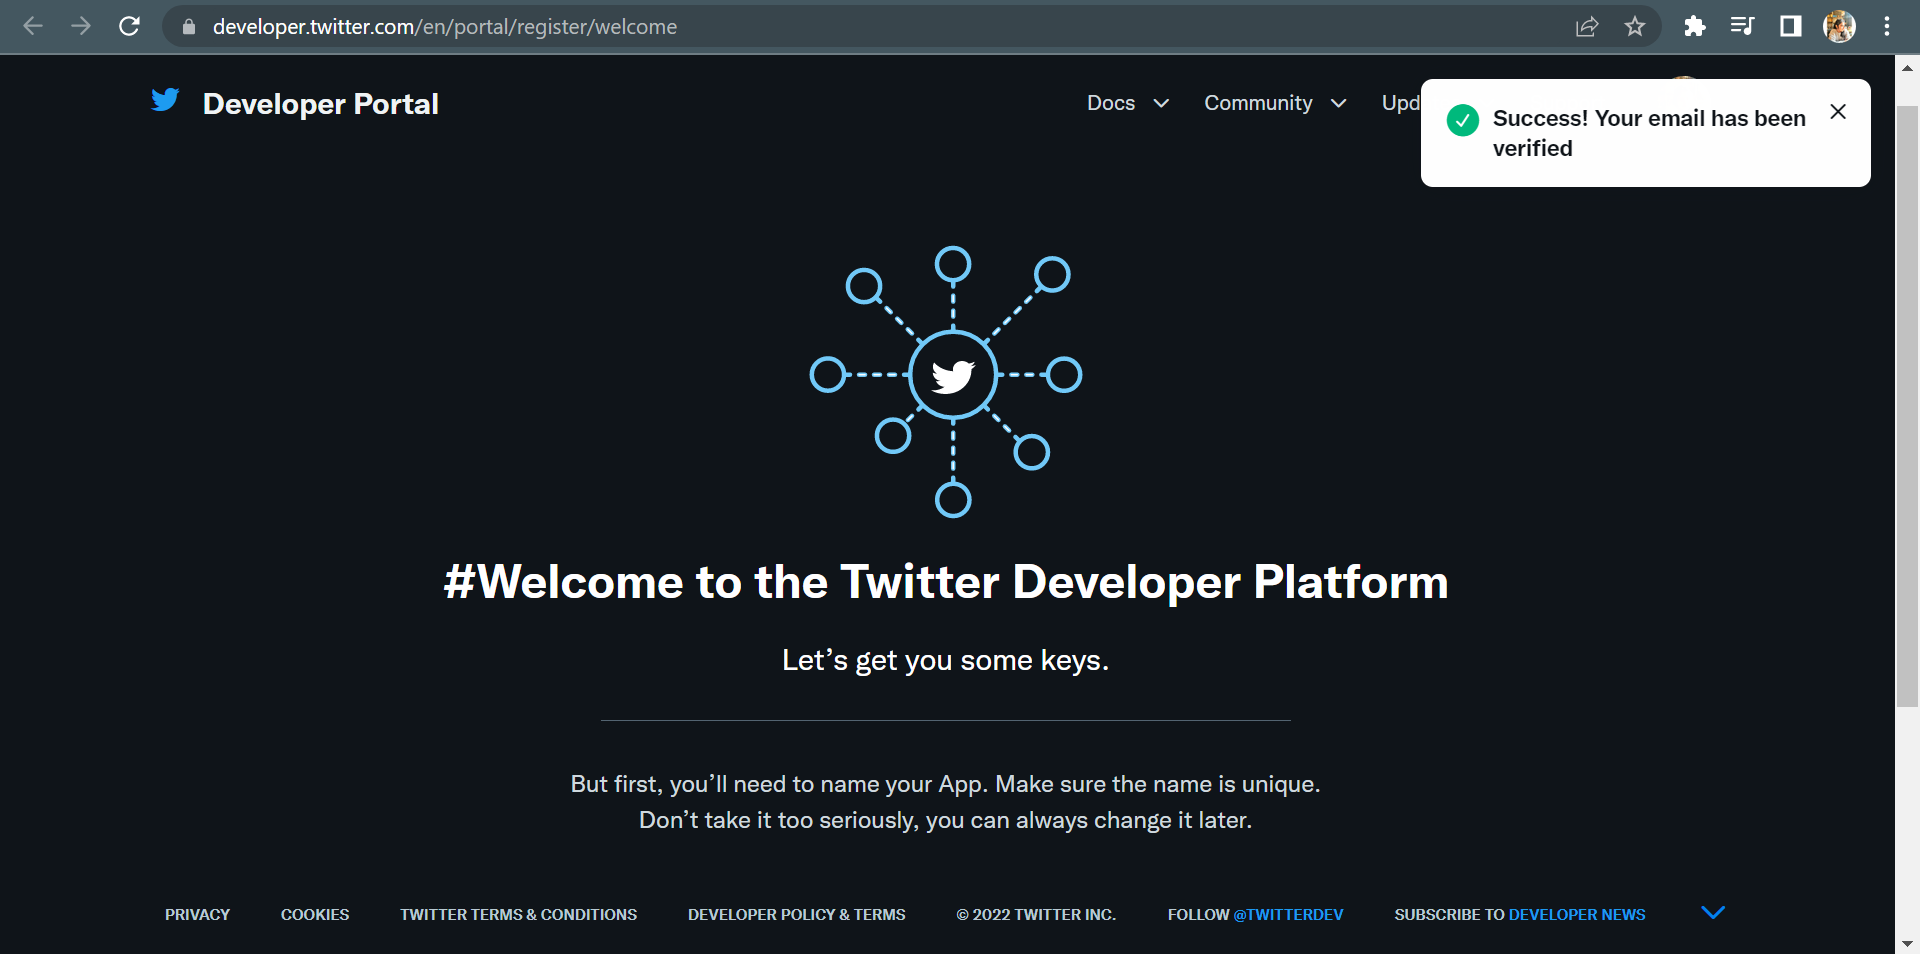
NOTE: You will need to verify your account by adding your phone number. To do this, go to your Twitter Account Settings. Click on the Account Information section and update your phone number.
Step 2: Creating a Twitter App
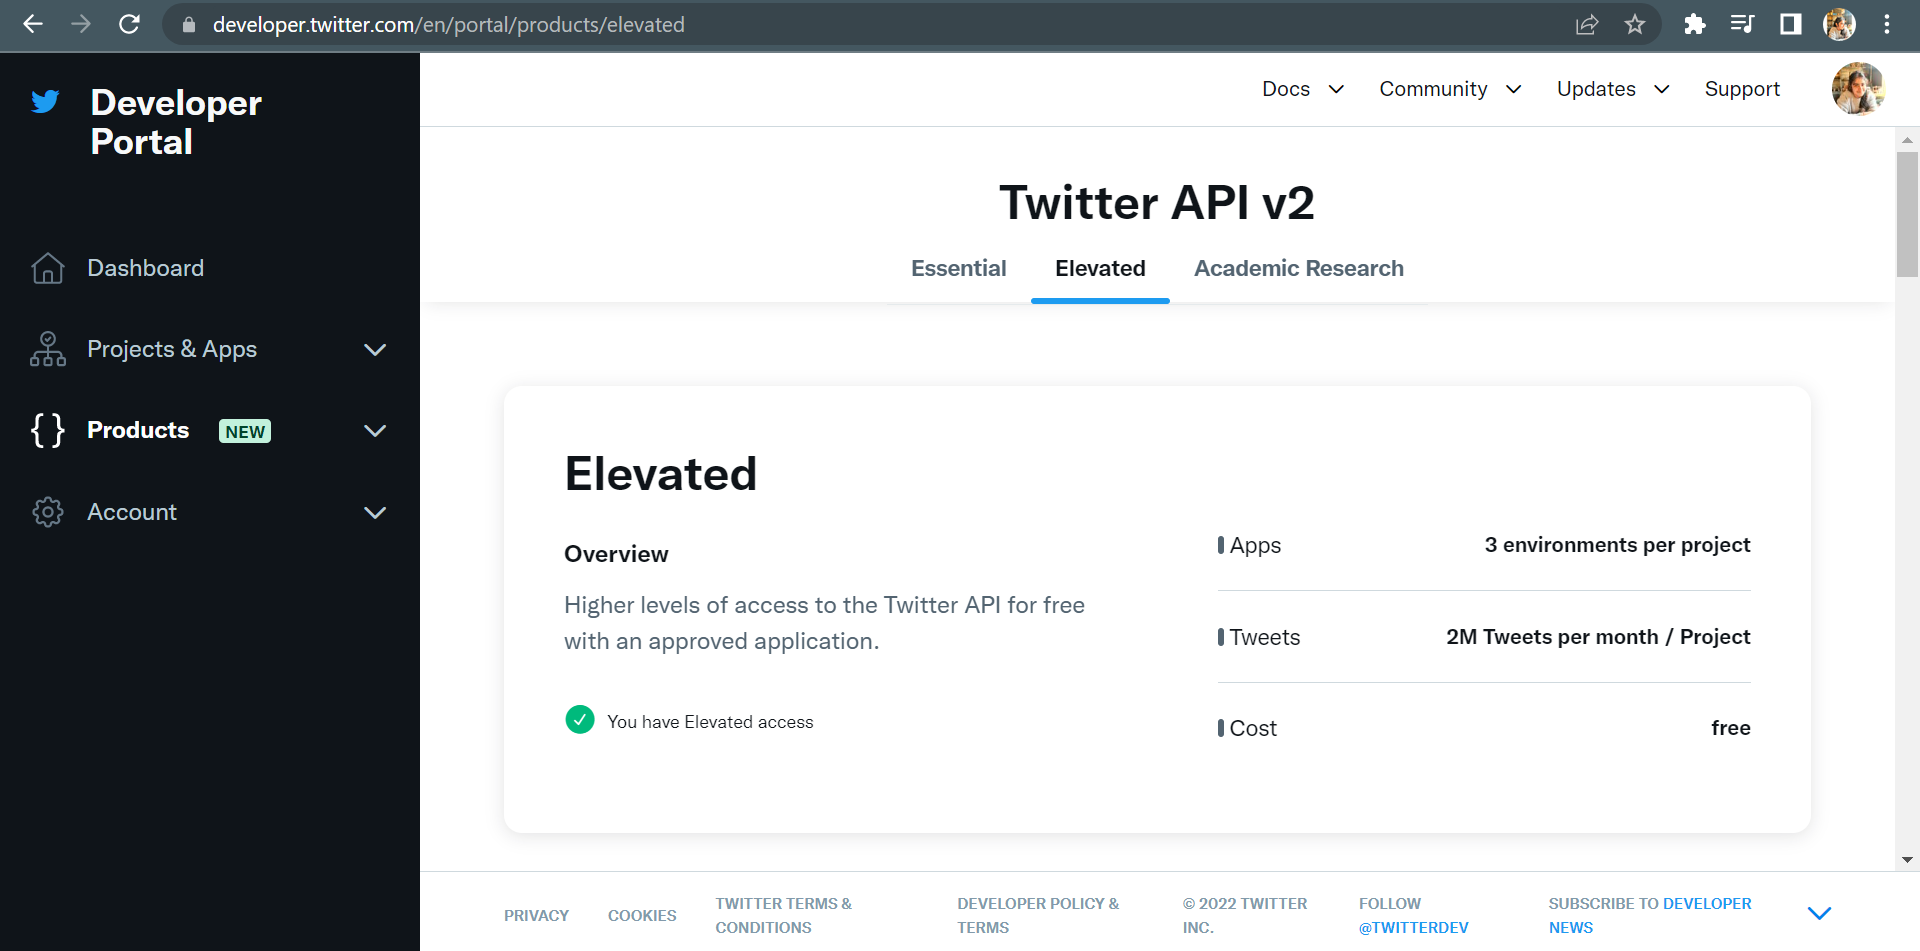
This project will require an Elevated Access, since we'll be using the Twitter API to get the tweets posted by an account.
For that, let us first create a new app. The name of the app requires its name to be unique. Click on the Get Keys button.
Now, this will generate the API keys and tokens that we'll need to use the Twitter API. Copy the API Key, API Key Secret, and the Bearer Token.
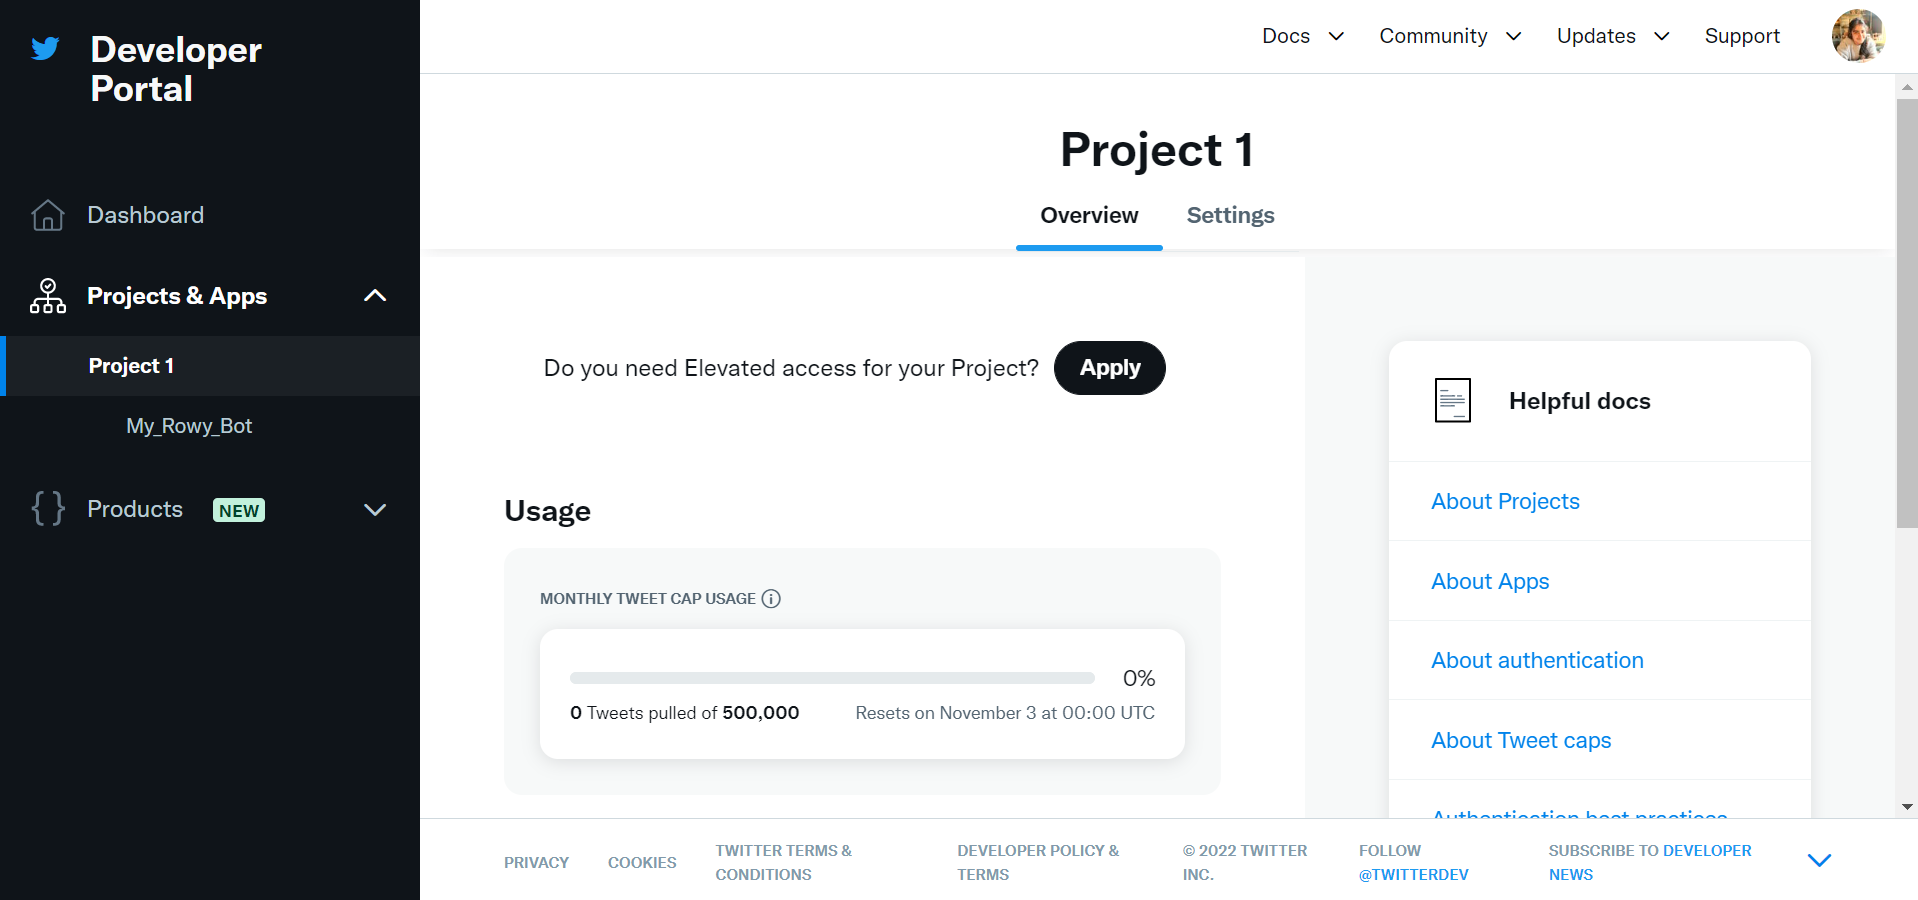
Step 3: Applying for Elevated Access
On the Project Dashboard Overview section, we get a pop-up that asks us if we wish to apply for Elevated Access. Click on the Apply button.
This will take you to a form which will ask you to provide the purpose of requirement of an elevated access. Fill in the form and submit.
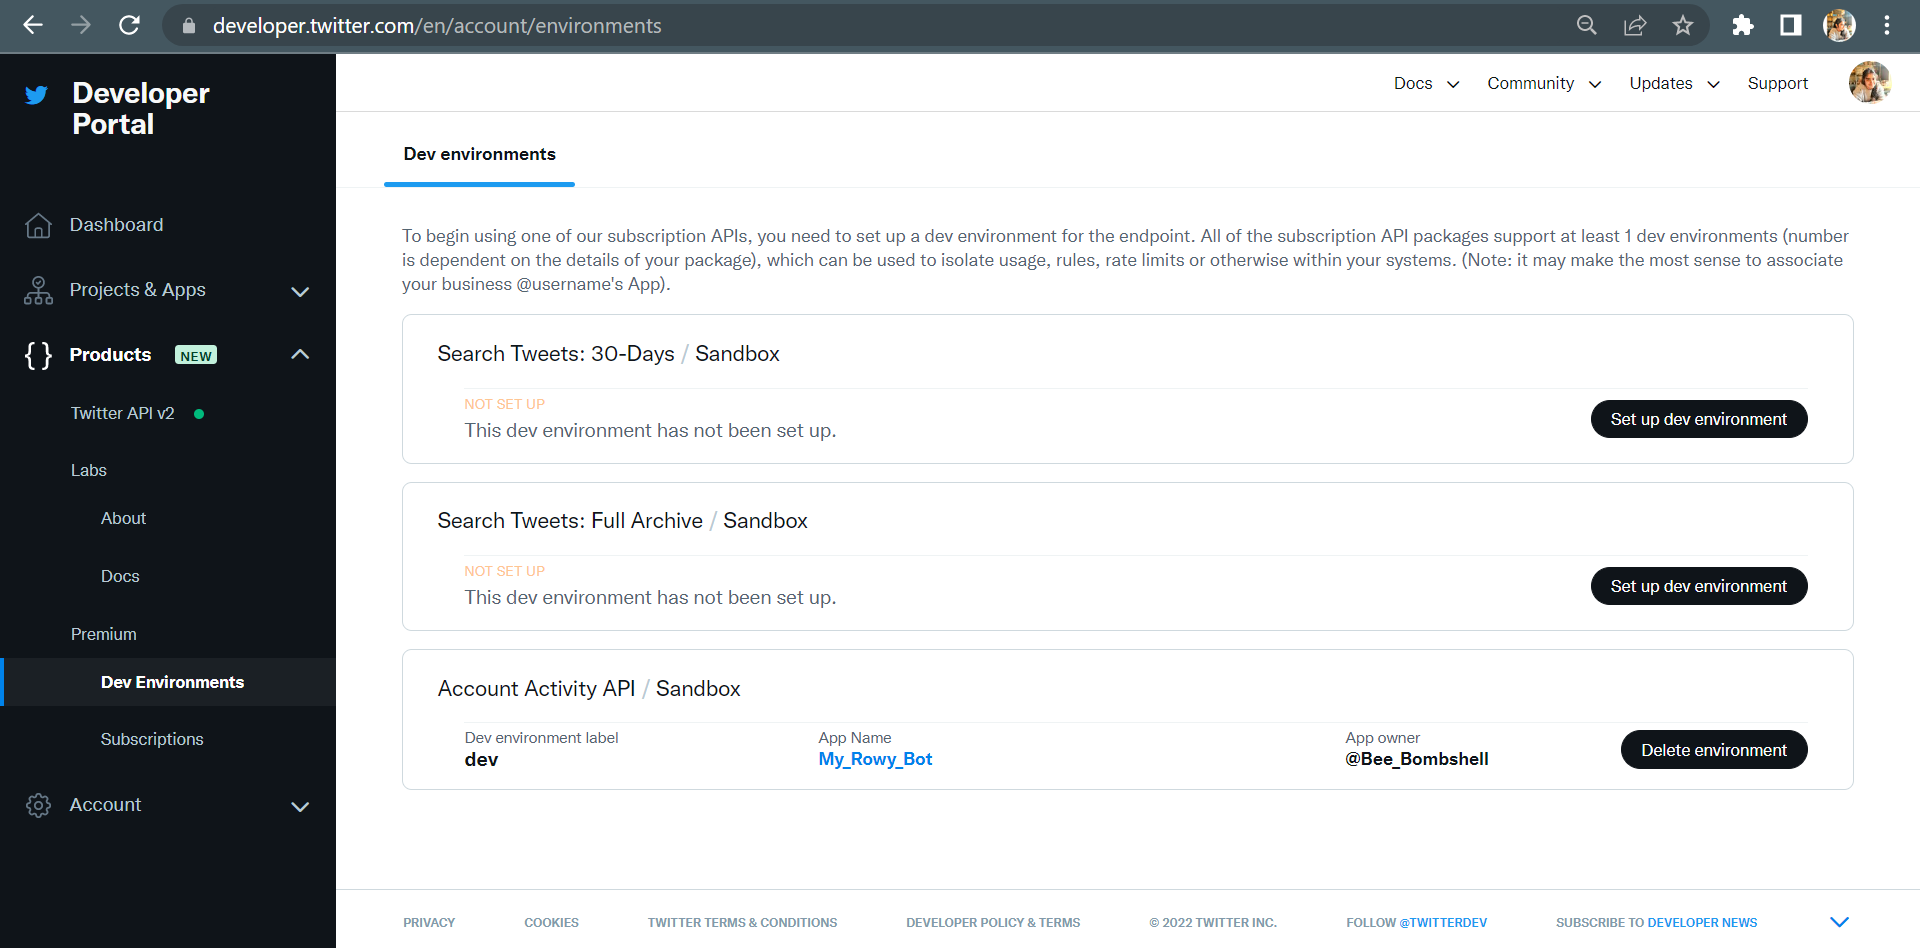
Step 4: Creating a Twitter Dev Environment
Navigate to the Products section in the sidebar. Click on Dev Environments under the Premium Section.
Now, we need to create an Account Activity Sandbox which is an isolated testing environment that enables users to run programs or scripts that interact with the Twitter API. Click on the Set up dev environment button for the Account Activity API Sandbox.
Give it a unique Dev environment label and select the app we created earlier. Click on the Complete setup button. Now your dev environment is ready.
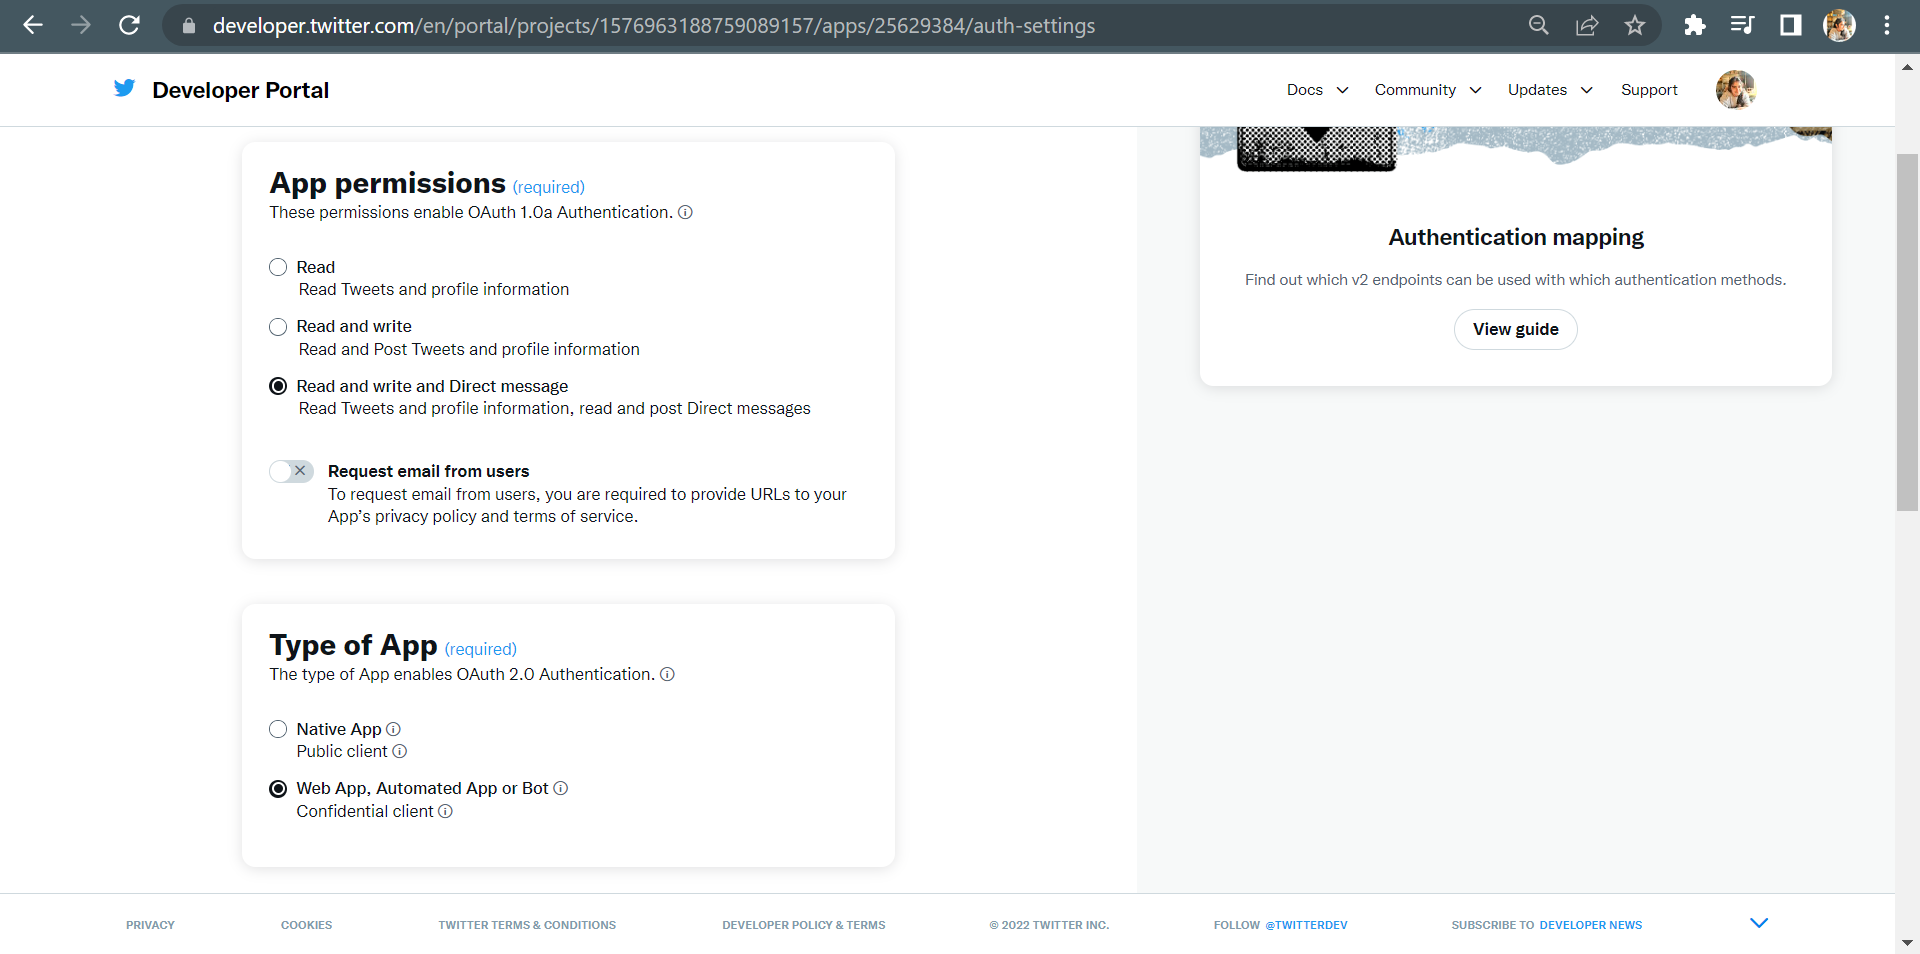
Step 5: Granting required permissions
Now, we need to grant the permissions to the app. Navigate to the Projects & Apps section in the sidebar. Click on the App name. Scroll down to the User authentication settings and click Edit.
We need to grant Read, Write, and Direct Messages permissions to the app and set the type of the app to Web App, Automated App or Bot. Click on the Save button.
Step 6: Storing all the required keys
Go back to your project dashboard. Under the Keys and Tokens section, generate/regenerate the following keys and store it in a notepad:
API KeyAPI Key SecretBearer TokenAccess TokenAccess Token Secret
Step 7: Setting up the premium API subscription
Twitter features some premium APIs which are built with the similar functionality as the enterprise APIs, but are available via an adjustable monthly pricing model. All premium APIs have a free 'sandbox' access level with limited requests to test, and each product can be upgraded individually for more access and features.
Since we have our account elevated, we can now access the premium APIs.
There are three different premium APIs available in your developer account now:
- Search Tweets: 30-day
- Search Tweets: Full Archive
- Account Activity API
We'll be setting up the Account Activity API. Click on the Set up dev environment button.