Sending Emails via Sendgrid
This comprehensive tutorial will guide you through the process, providing step-by-step instructions on setting up your Sendgrid Account to use our Sendgrid Extension successfully.
Setting up in Sendgrid
Sign up for a Sendgrid account and enable Two-Factor Authentication when prompted.
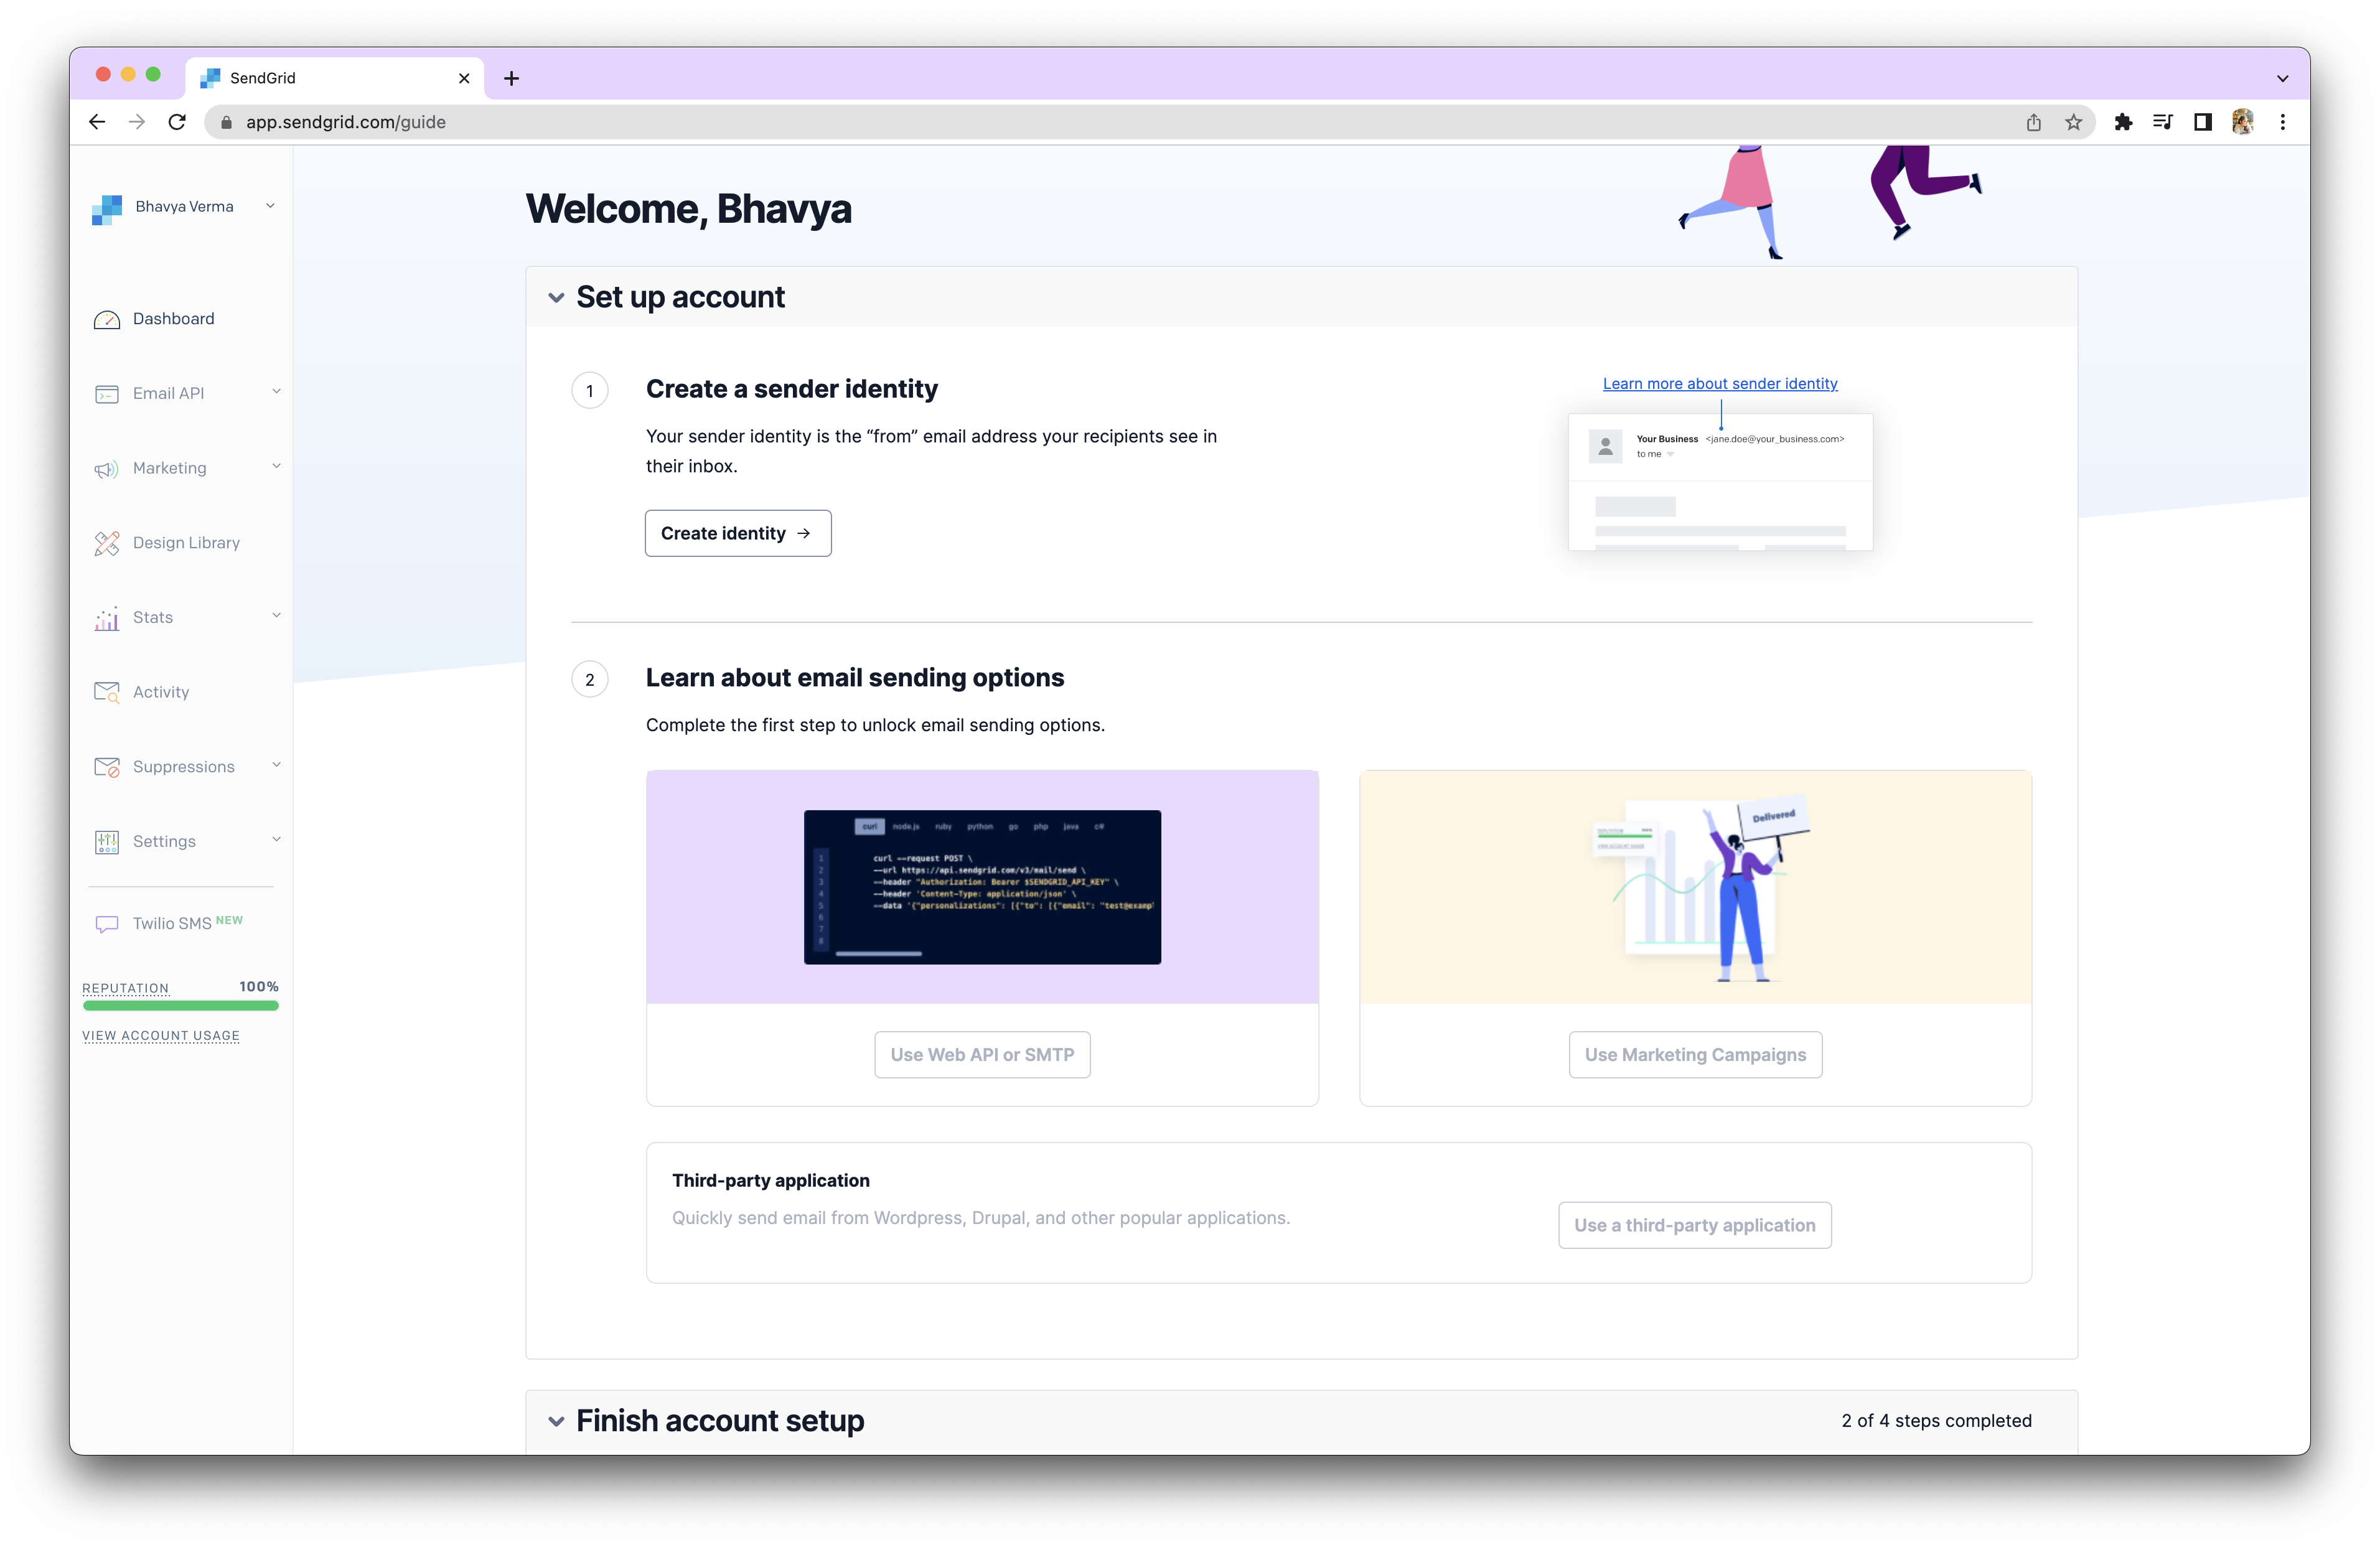
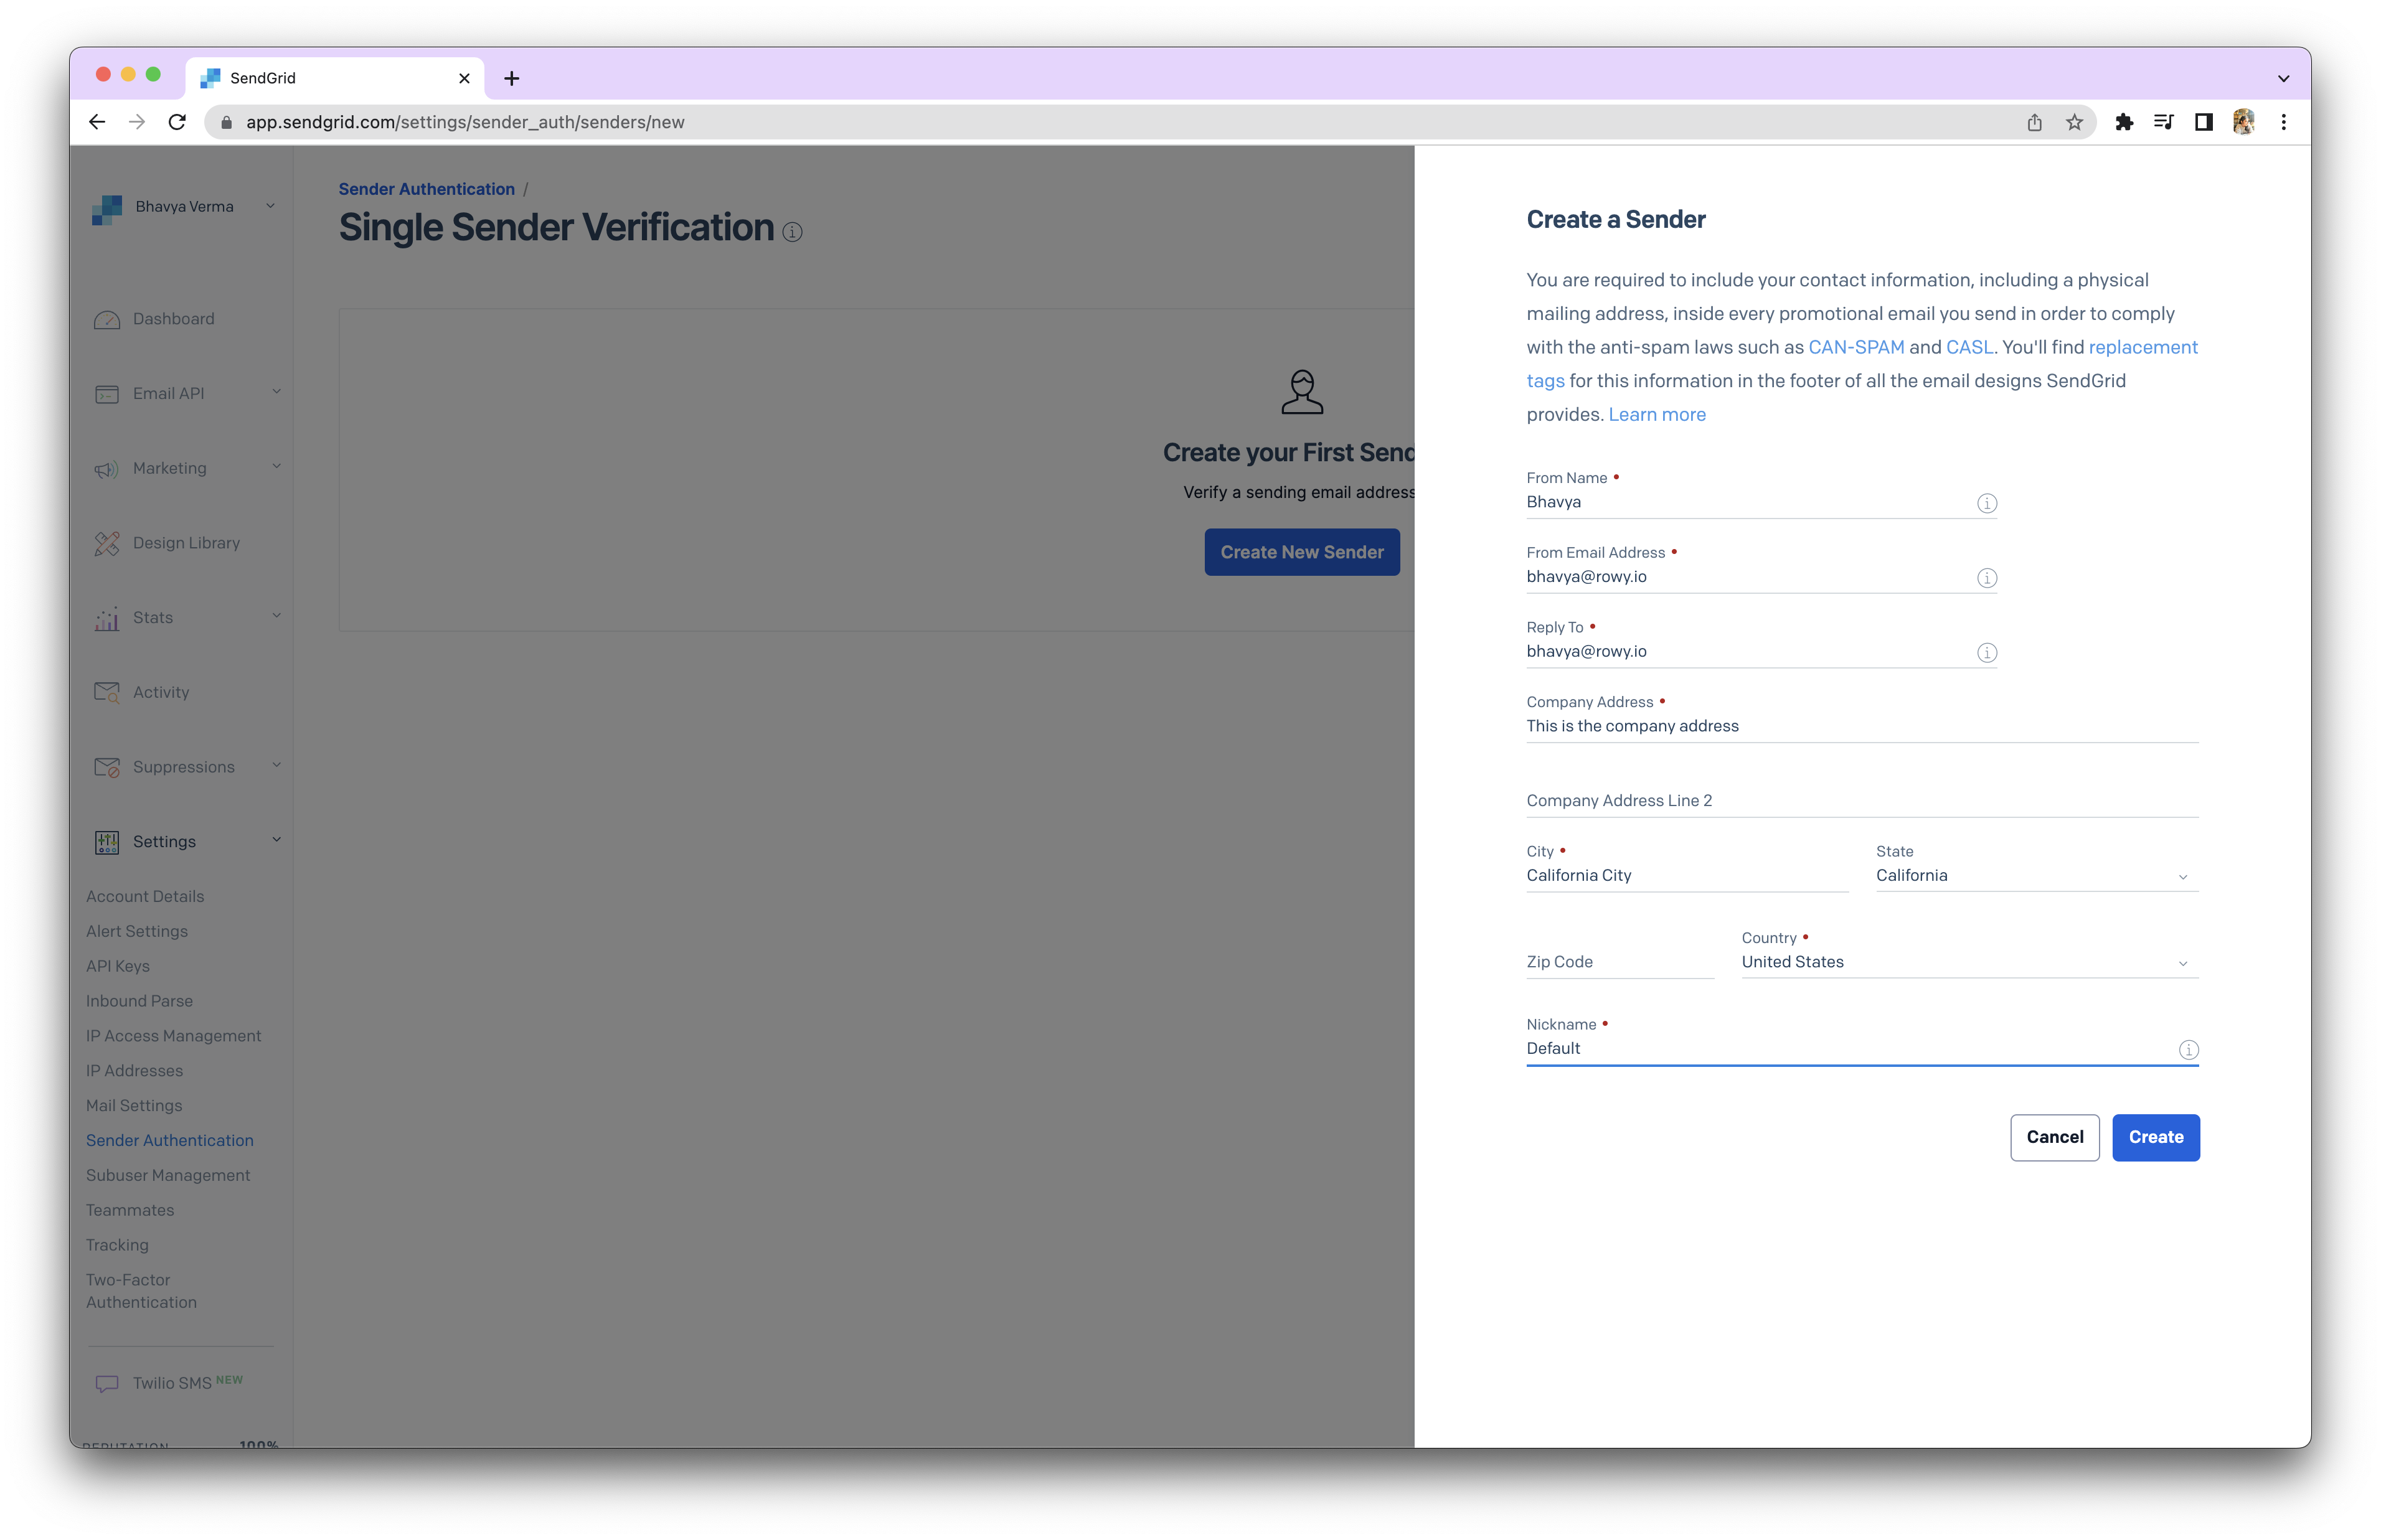
Create a sender identity by clicking on "Create Identity" and provide the required details. Verify the identity through email.
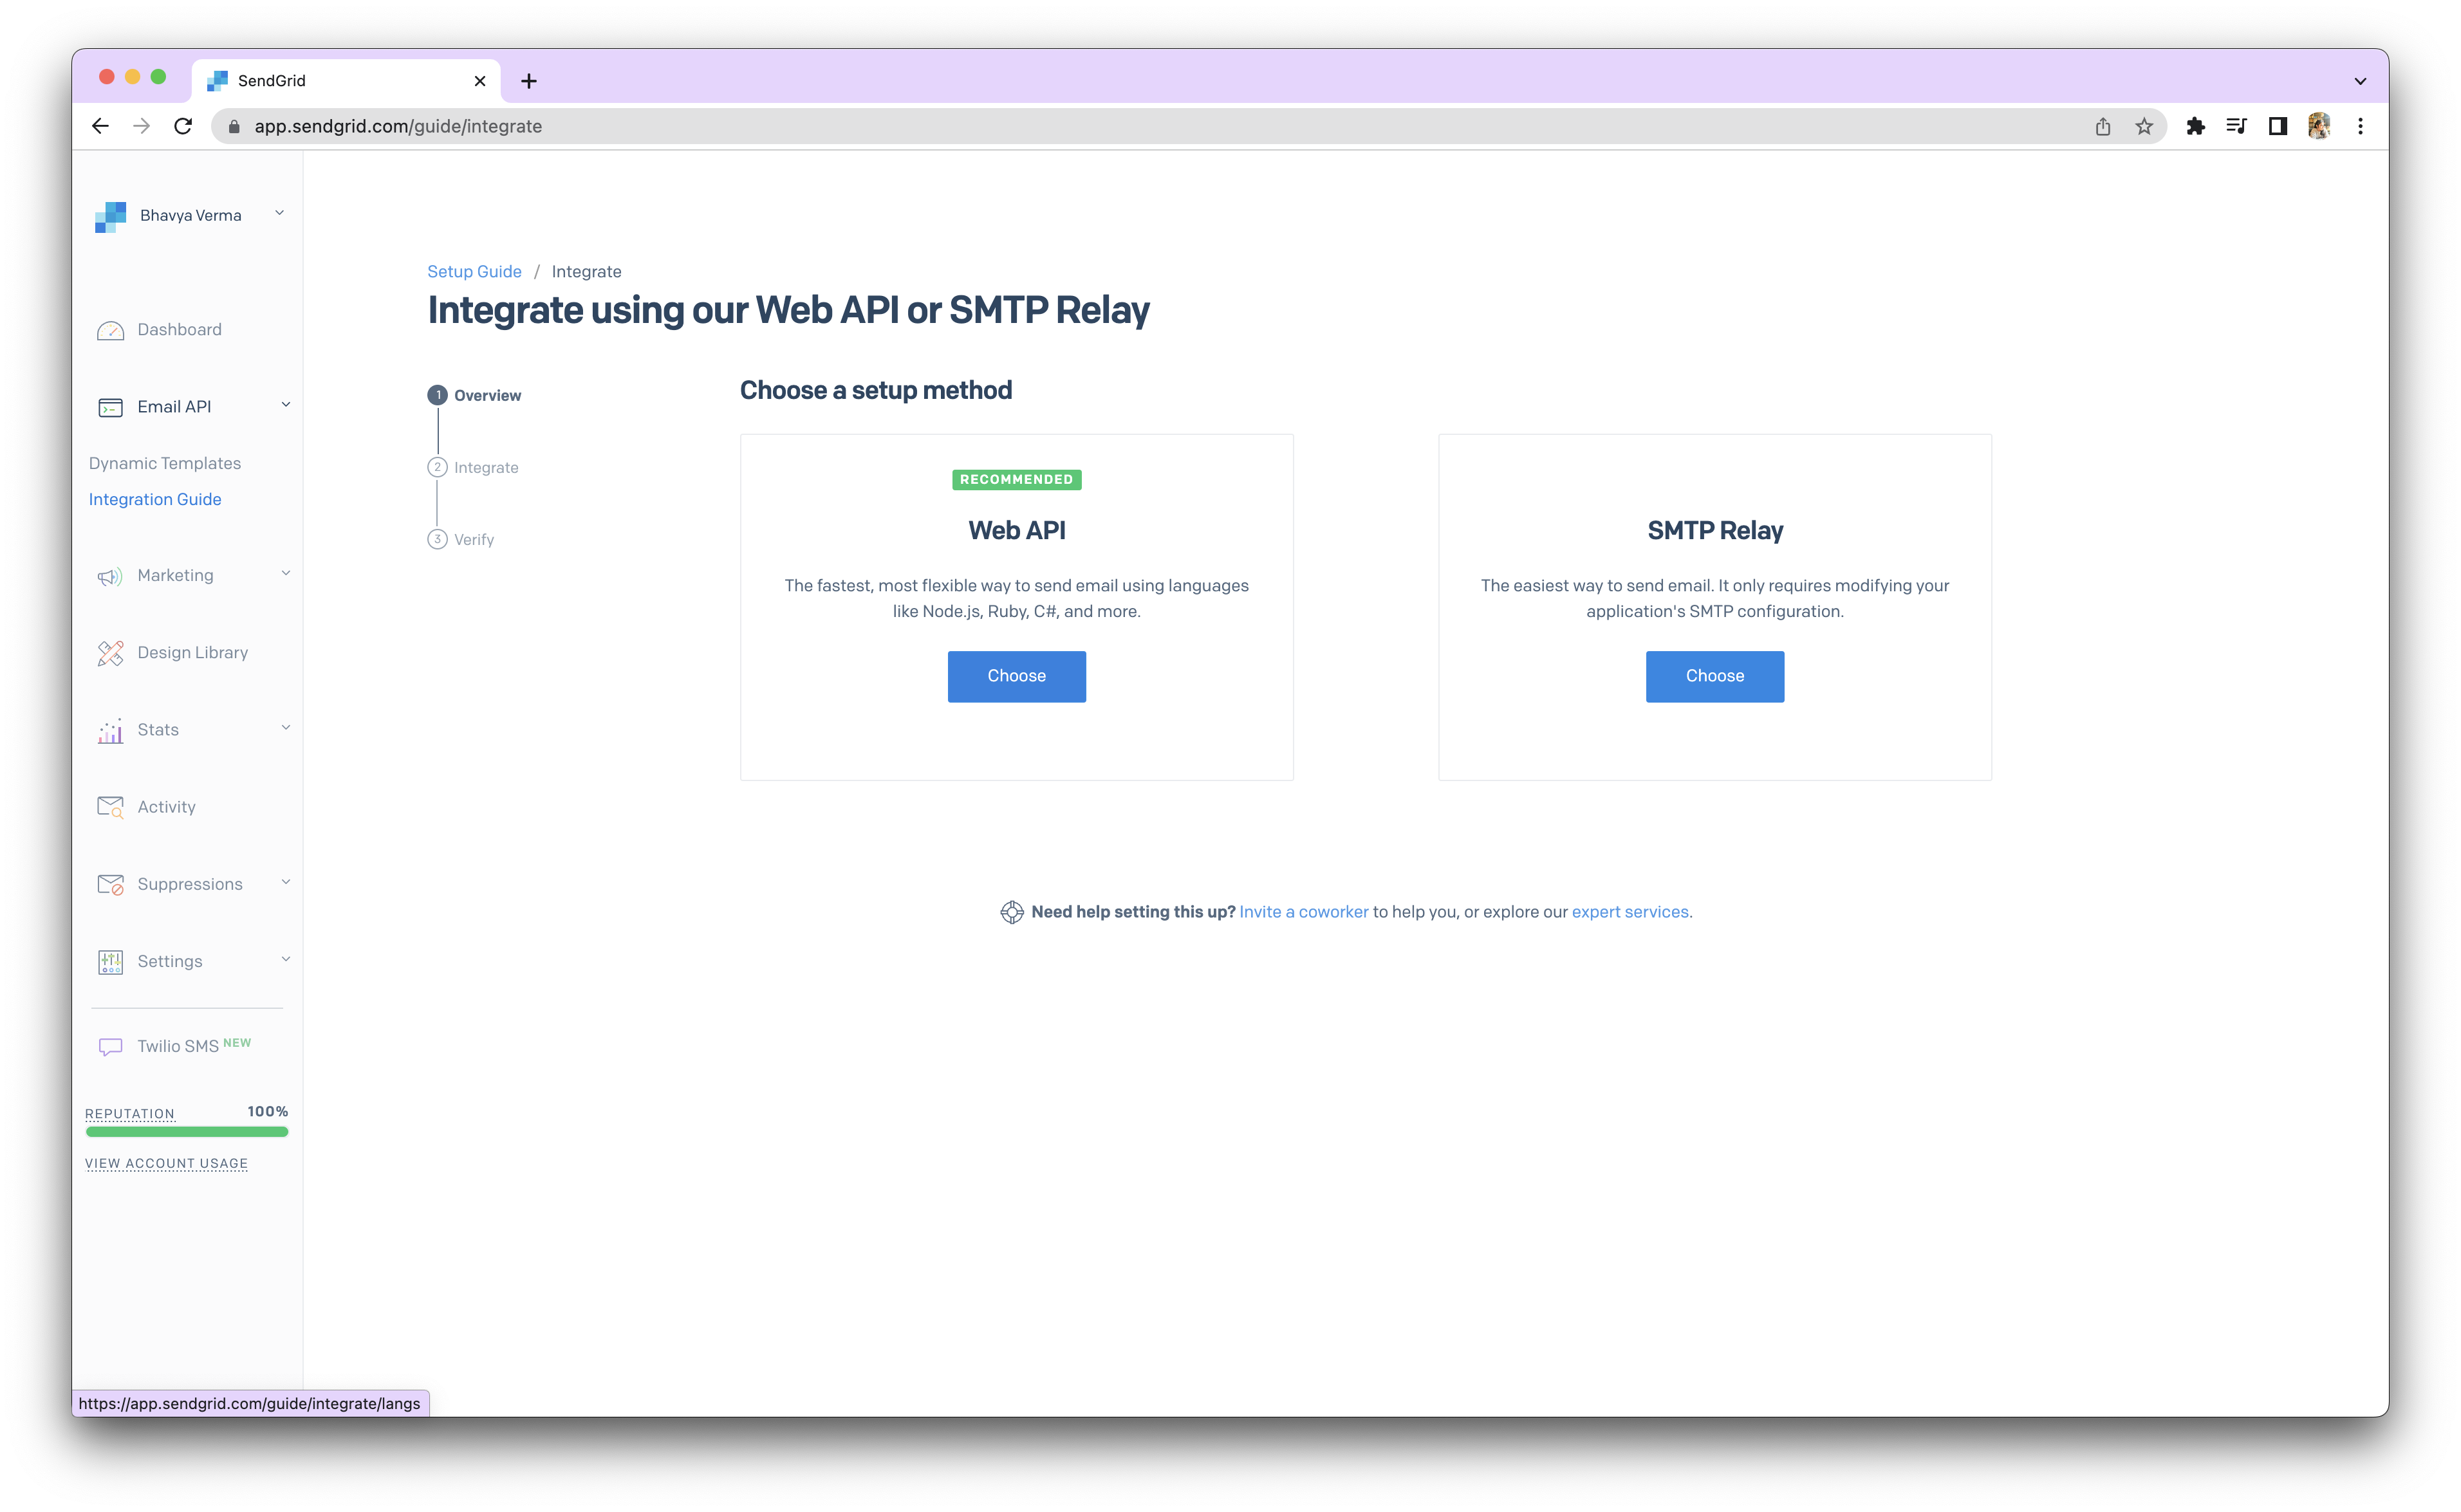
Integrate Sendgrid using the Web API and select Node.js as the language.
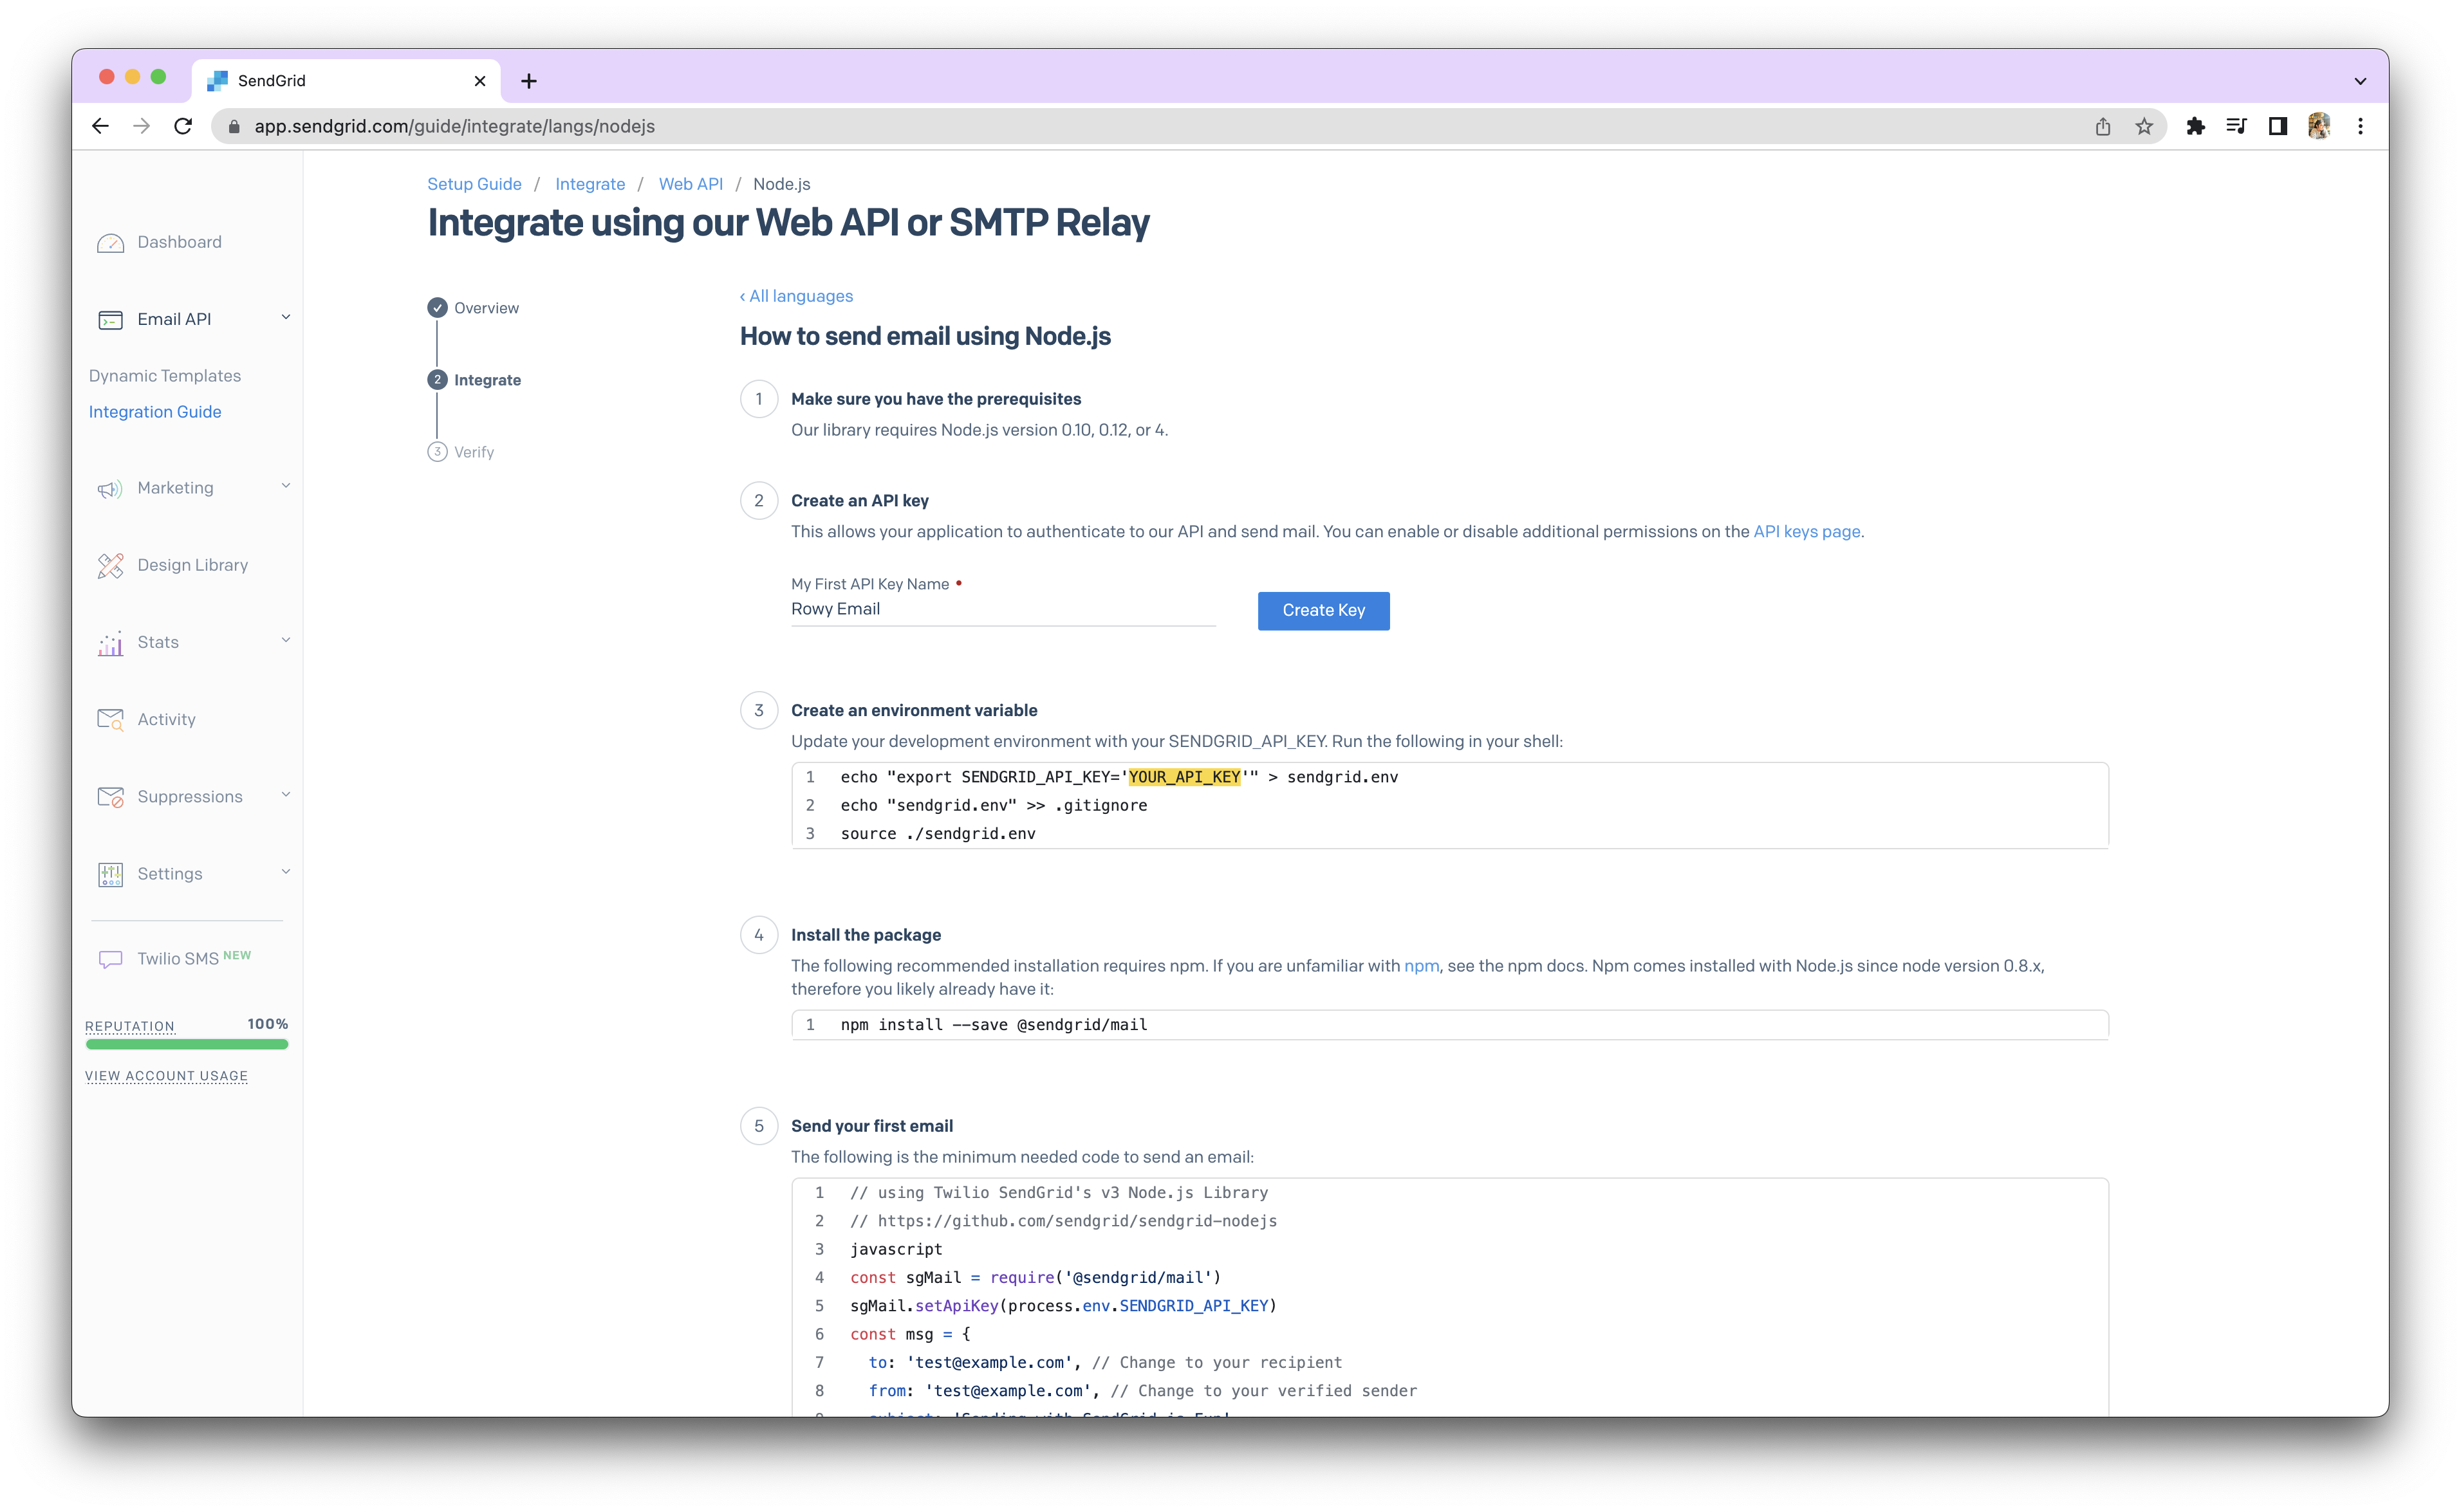
Generate an API Key in Sendgrid and make sure to copy and temporarily store it.
Go to the GCP Secret Manager and set up a secret named
sendgridwith the API Key as the body content.
PASTE YOUR API KEY HERE
In Sendgrid's Design Library, either select an email template or create your own. Save the template.
In the tags section, add any relevant tags to the email content for the user data.
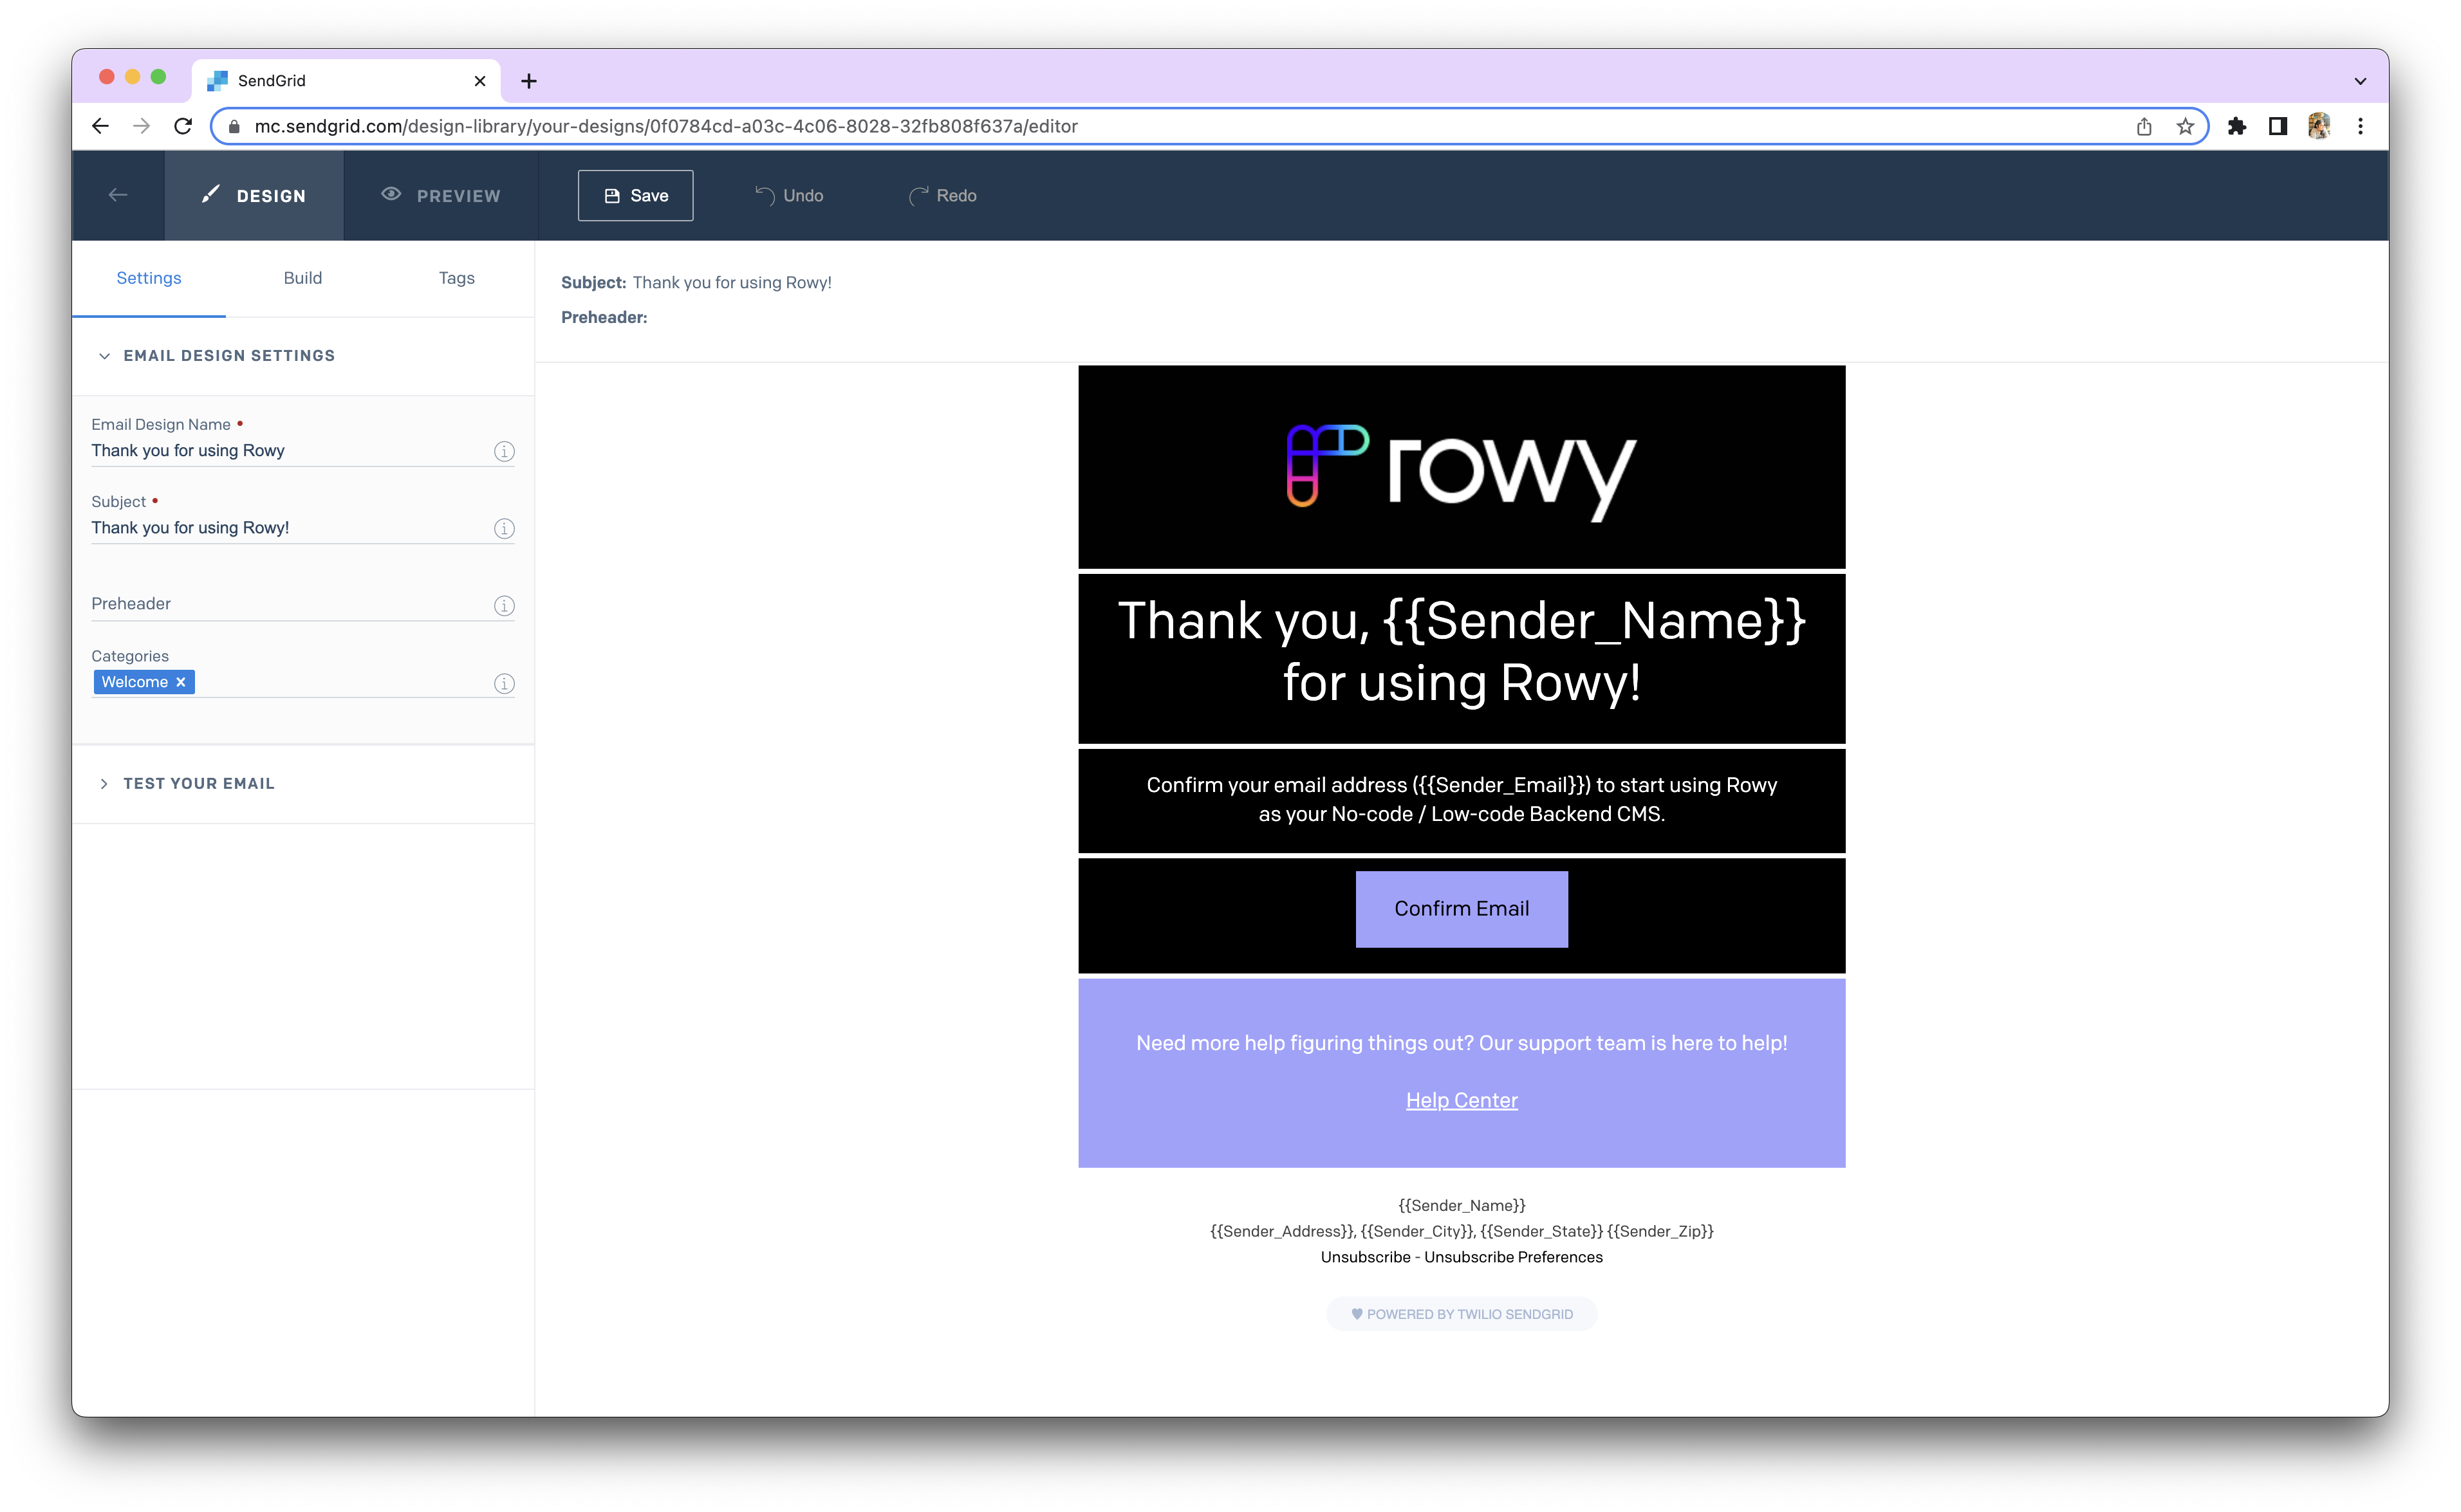
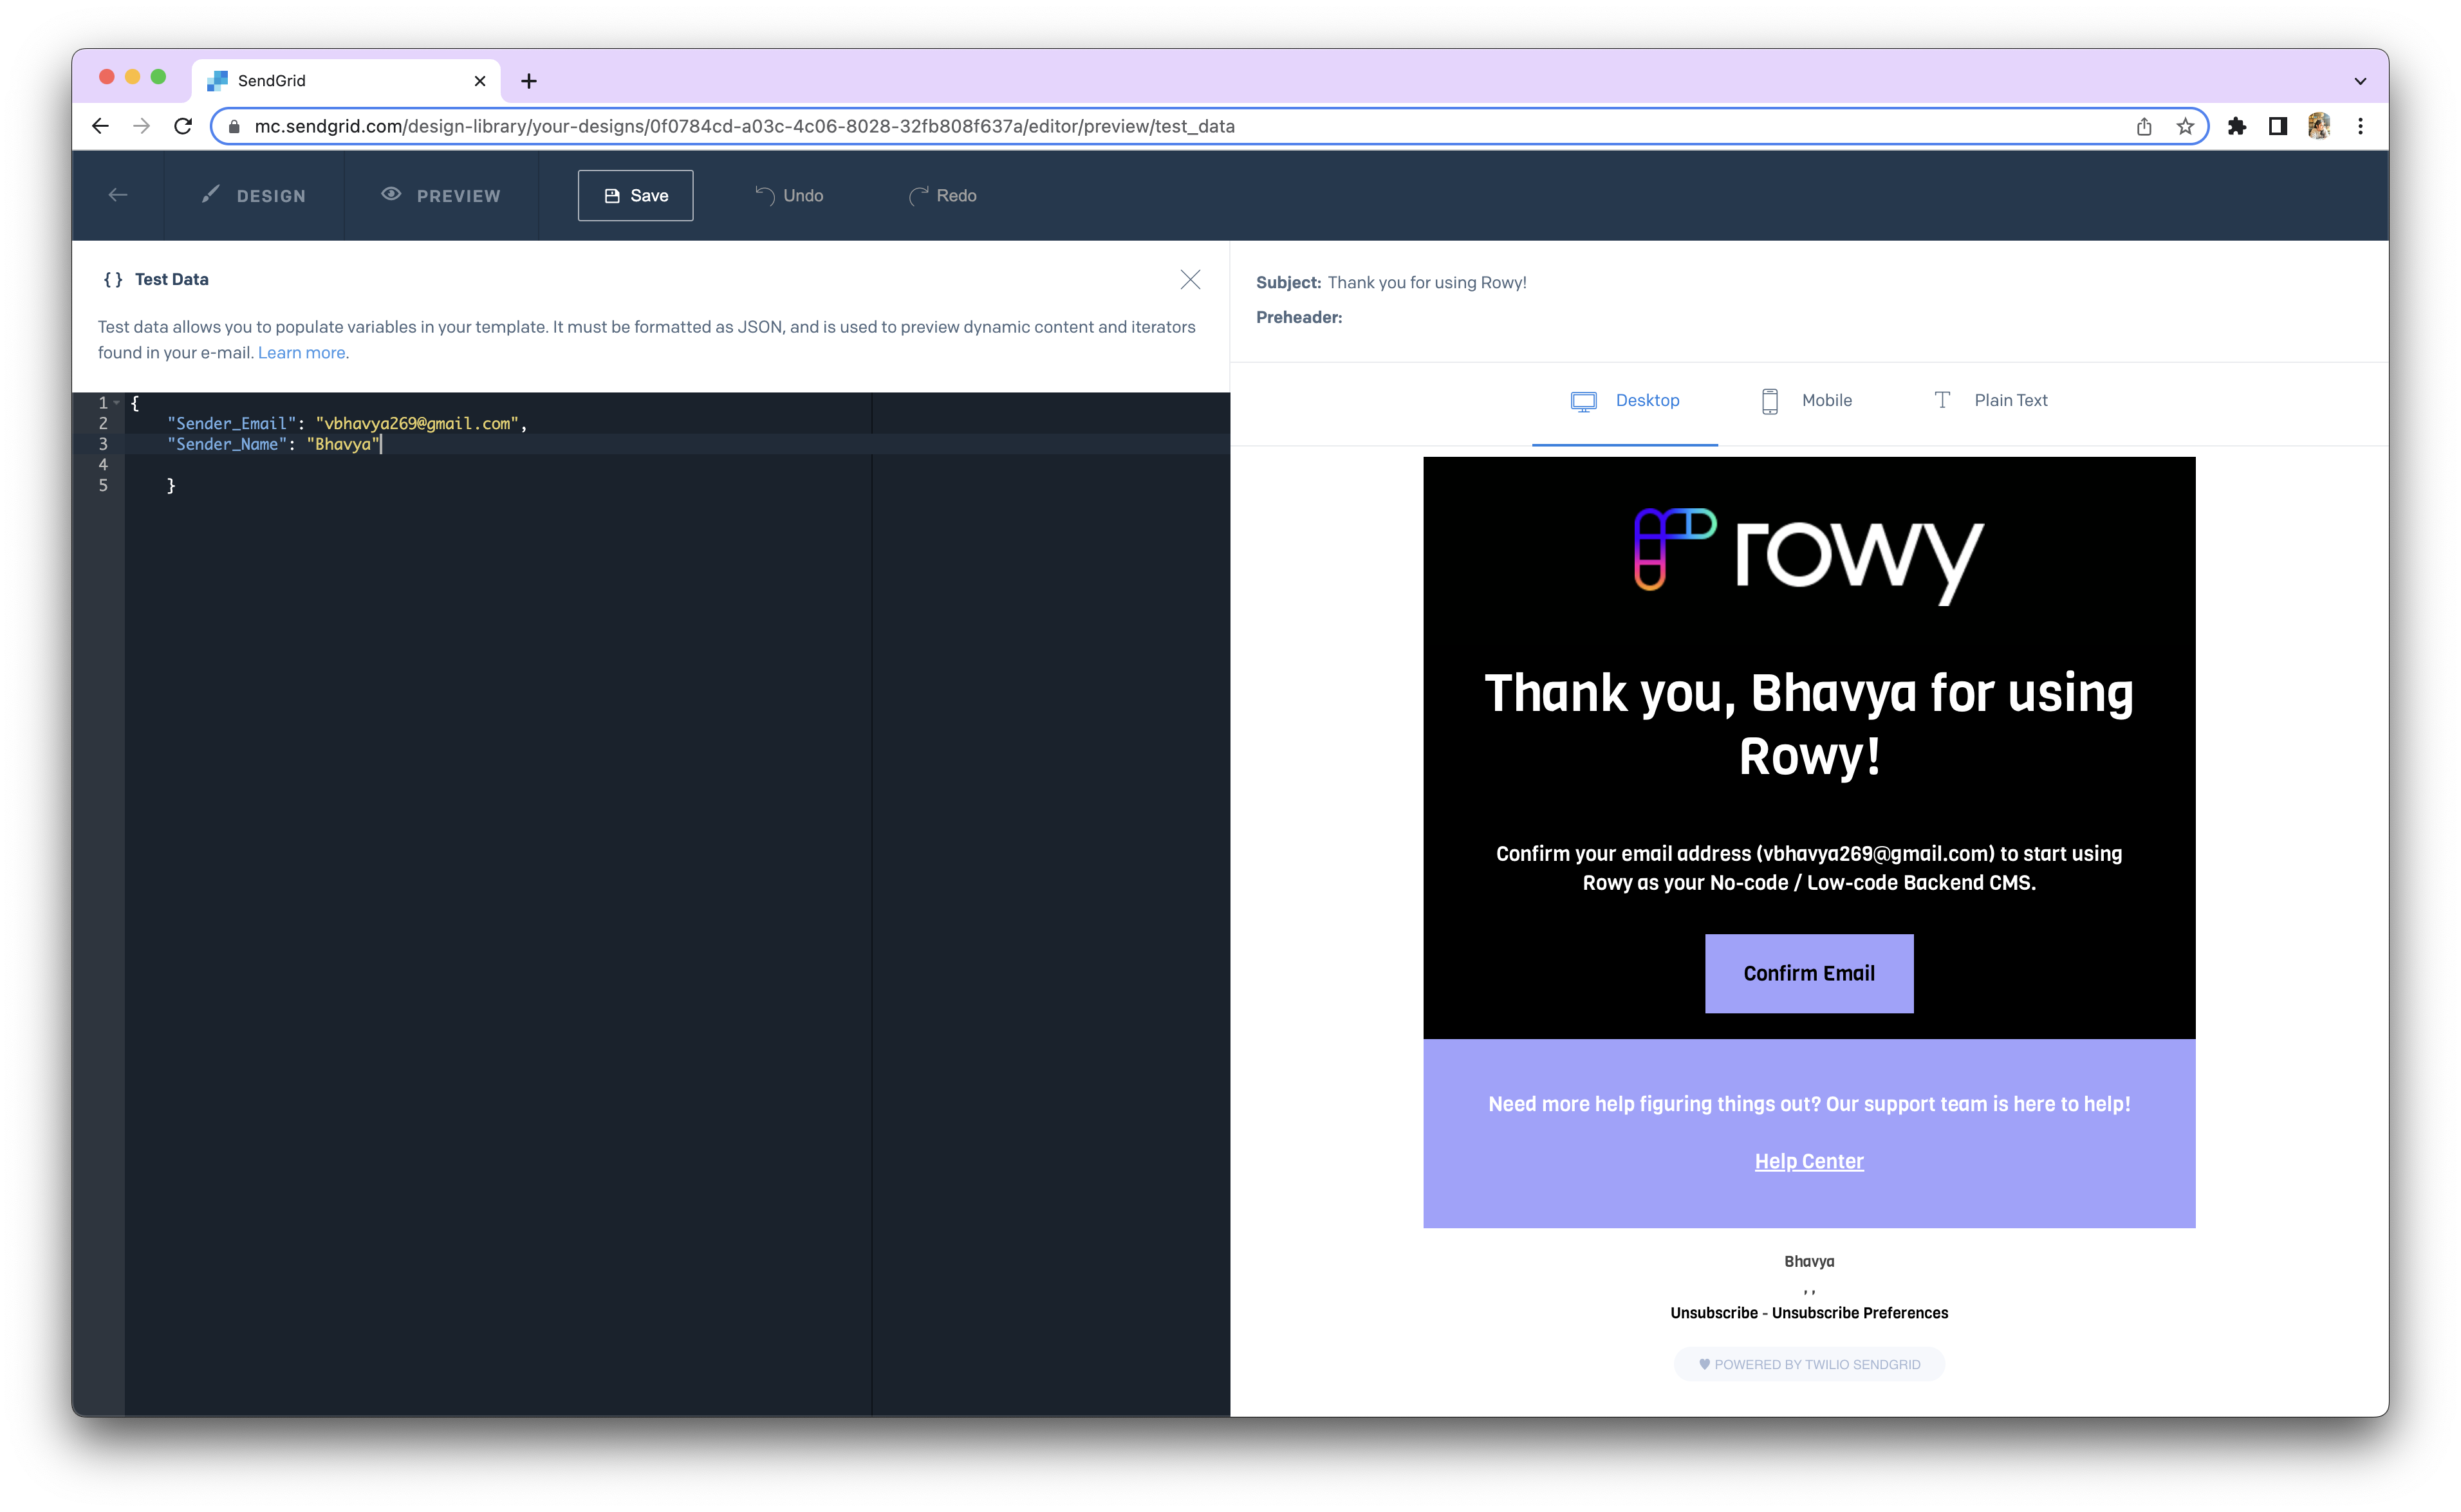
Optionally, test the email template by providing test data in JSON format in the Test Data section.
Under the Email API tab, navigate to Dynamic Templates and create a new dynamic template. Provide a name and select a version based on your drafted design. Save the template and copy the template ID.
Setting Up in Rowy
Create a table in Rowy with the appropriate fields to store email-related data.
Open the Extensions modal in Rowy and click on "Add Extension".
Select the "Sendgrid Email" extension and choose the Trigger Types and Required Fields.
Specify the sender's email address using the following format:
Jane<jane@gmail.com>.Add Recipient details and dynamic data under the personalizations field:
personalizations: [
  {
    to: [{ name: row.name, email: row.email }],  // recipient
    dynamic_template_data: {
      "Sender_Email": "bhavya@rowy.io",
      "Sender_Name": "Bhavya"
    },  // template parameters
  },
],
- Insert the copied Template ID into the
template_idfield:
template_id: "0f0784cd-a03c-4c06-8028-32fb808f637a", // Sendgrid template ID
- Click "Save" and "Deploy" to finalize the configuration.
Example Extension Body
The final extension would look like this:
const extensionBody: SendgridEmailBody = async({row, db, change, ref, logging}) => {

  logging.log("extensionBody started")

  // Import any NPM package needed
  // const lodash = require('lodash');

  return ({
    from: "Bhavya<bhavya@rowy.io>",   // send from field
    personalizations: [
      {
        to: [{ name: row.name, email: row.email }],  // recipient
        dynamic_template_data: {
          "Sender_Email": `${row.email}`,
          "Sender_Name": `${row.name}`
        },  // template parameters
      },
    ],
    template_id: "d-02b3cedfff664915998cf7c871fe0ad6",// sendgrid template ID
    categories: ["invites", "welcome"], // helper info to categorise sendgrid emails
    custom_args:{
      docPath:ref.path, // optional, reference to be used for tracking email events
      // add any other custom args you want to pass to sendgrid events here
    },
  })

}
Emails going to spam? 🛑
If your emails are consistently being classified as spam, you can try disabling the Click Tracking option in the email settings. This may help improve the deliverability of your emails.
